
Mounting Instructions
MaTi

Crate content
MaTi artwork
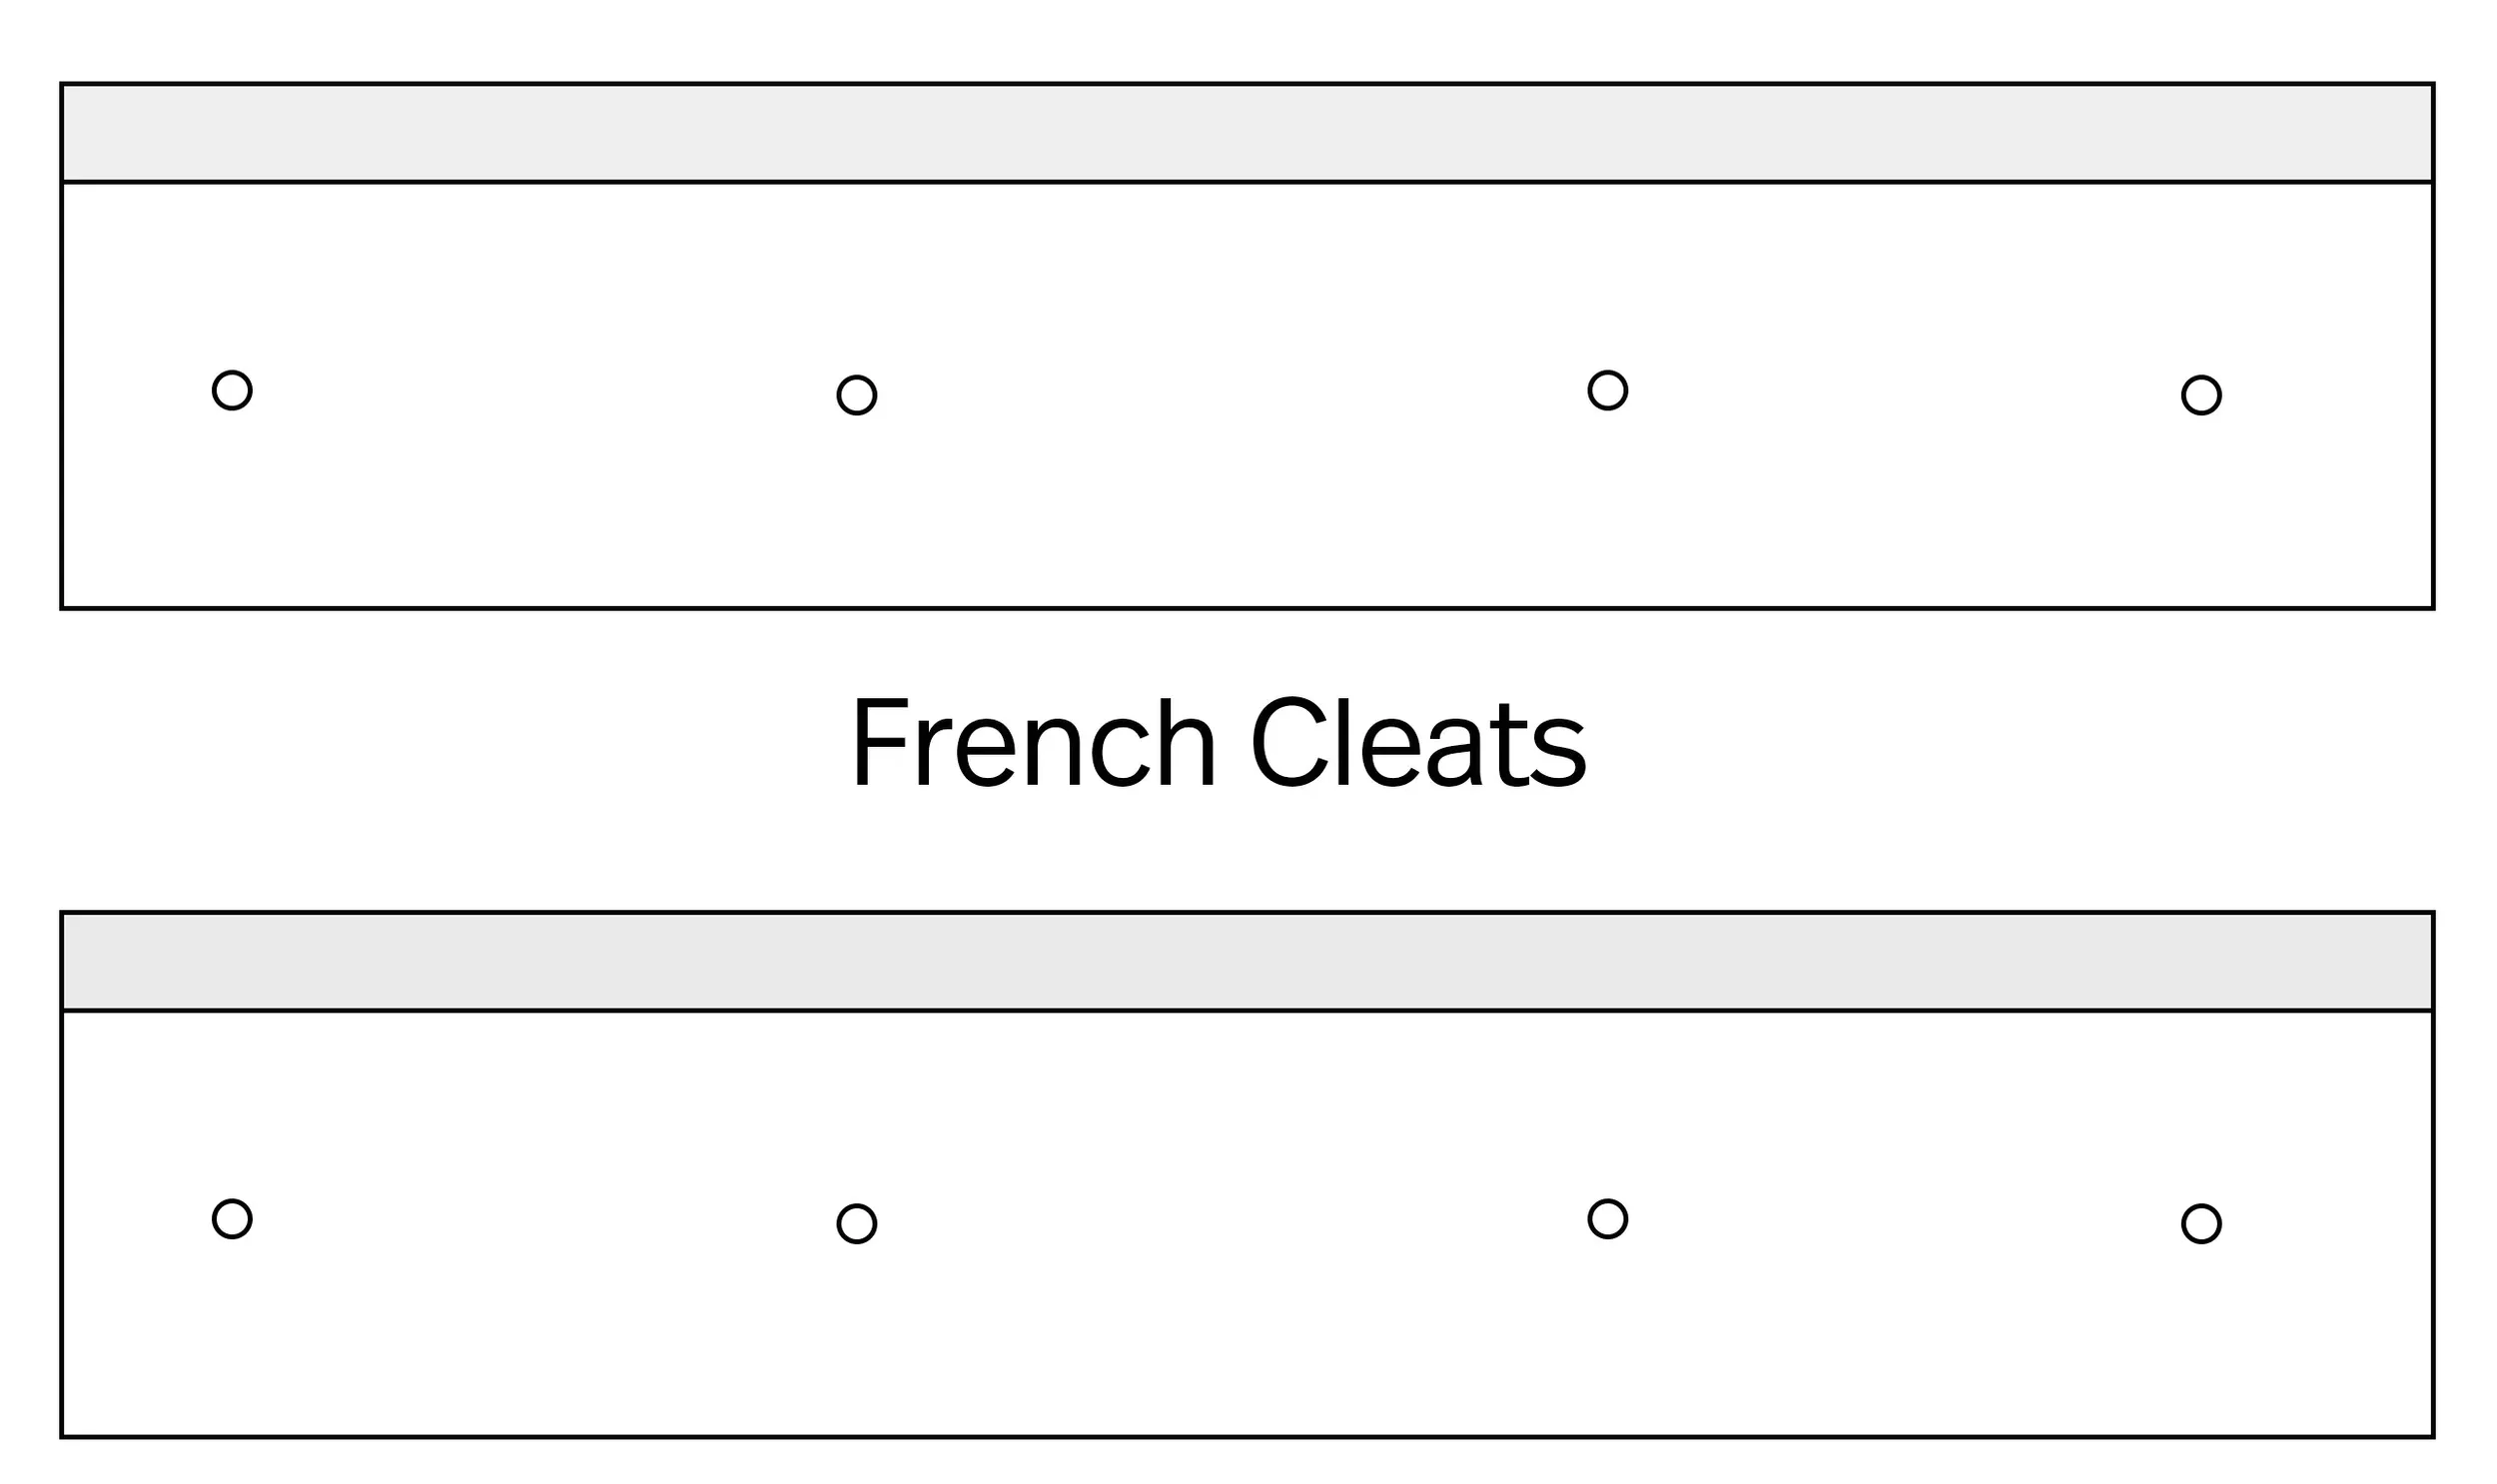
Cleats
Screws
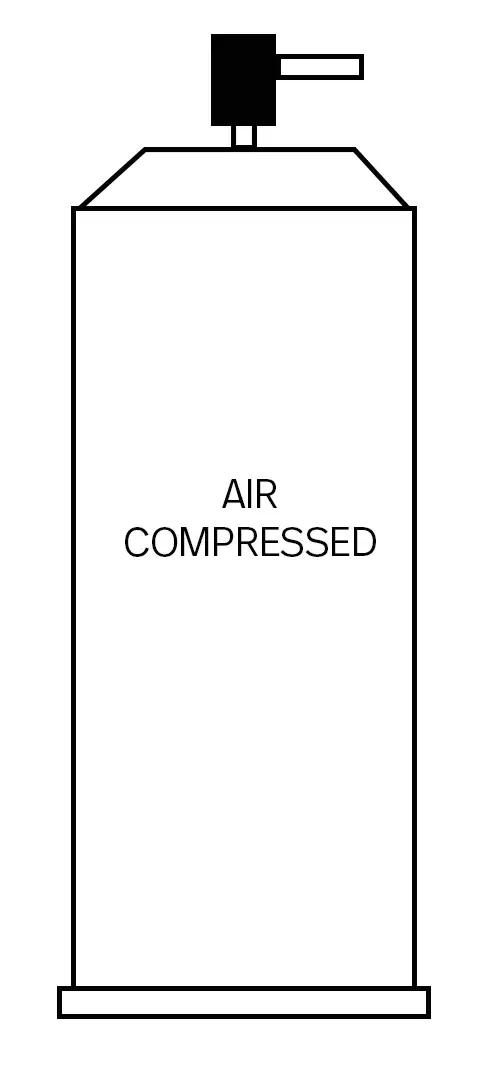
Compressed air can
Certificate
Hanging MaTi
Handling the artwork and mounting instructions.
→ At least two people are required to handle the artwork safely. Place the crate flat on the floor with the lid facing up.
Remove the screws marked with a black circle around the screw head.
Carefully remove the lid.
Once the crate is open, the artwork will be loose inside the box. You can now remove it by lifting it out.
Always hold the artwork from the back — never from the front of the frame. Lift it carefully.
Once the artwork is out of the crate, place it vertically on the floor, resting on the bottom edge on cushions or padding.
NOTE: Before lifting the artwork, make sure the power cable is released.
The artwork is supplied with a power cable for connection to a standard wall outlet. If you prefer the work to be hardwired, please ensure a qualified electrician completes the connection before the artwork is hung.
MaTi is available in two sizes — Ø130 cm and Ø100 cm — each with slightly different measurements. To install either size, follow the steps described above.
Mounting MaTi
To keep the geometry aligned with the viewer’s perspective, we recommend positioning the centre of the work at eye level. Mark this point on the wall at eye level, or slightly lower, as it will serve as the reference when positioning the cleats.
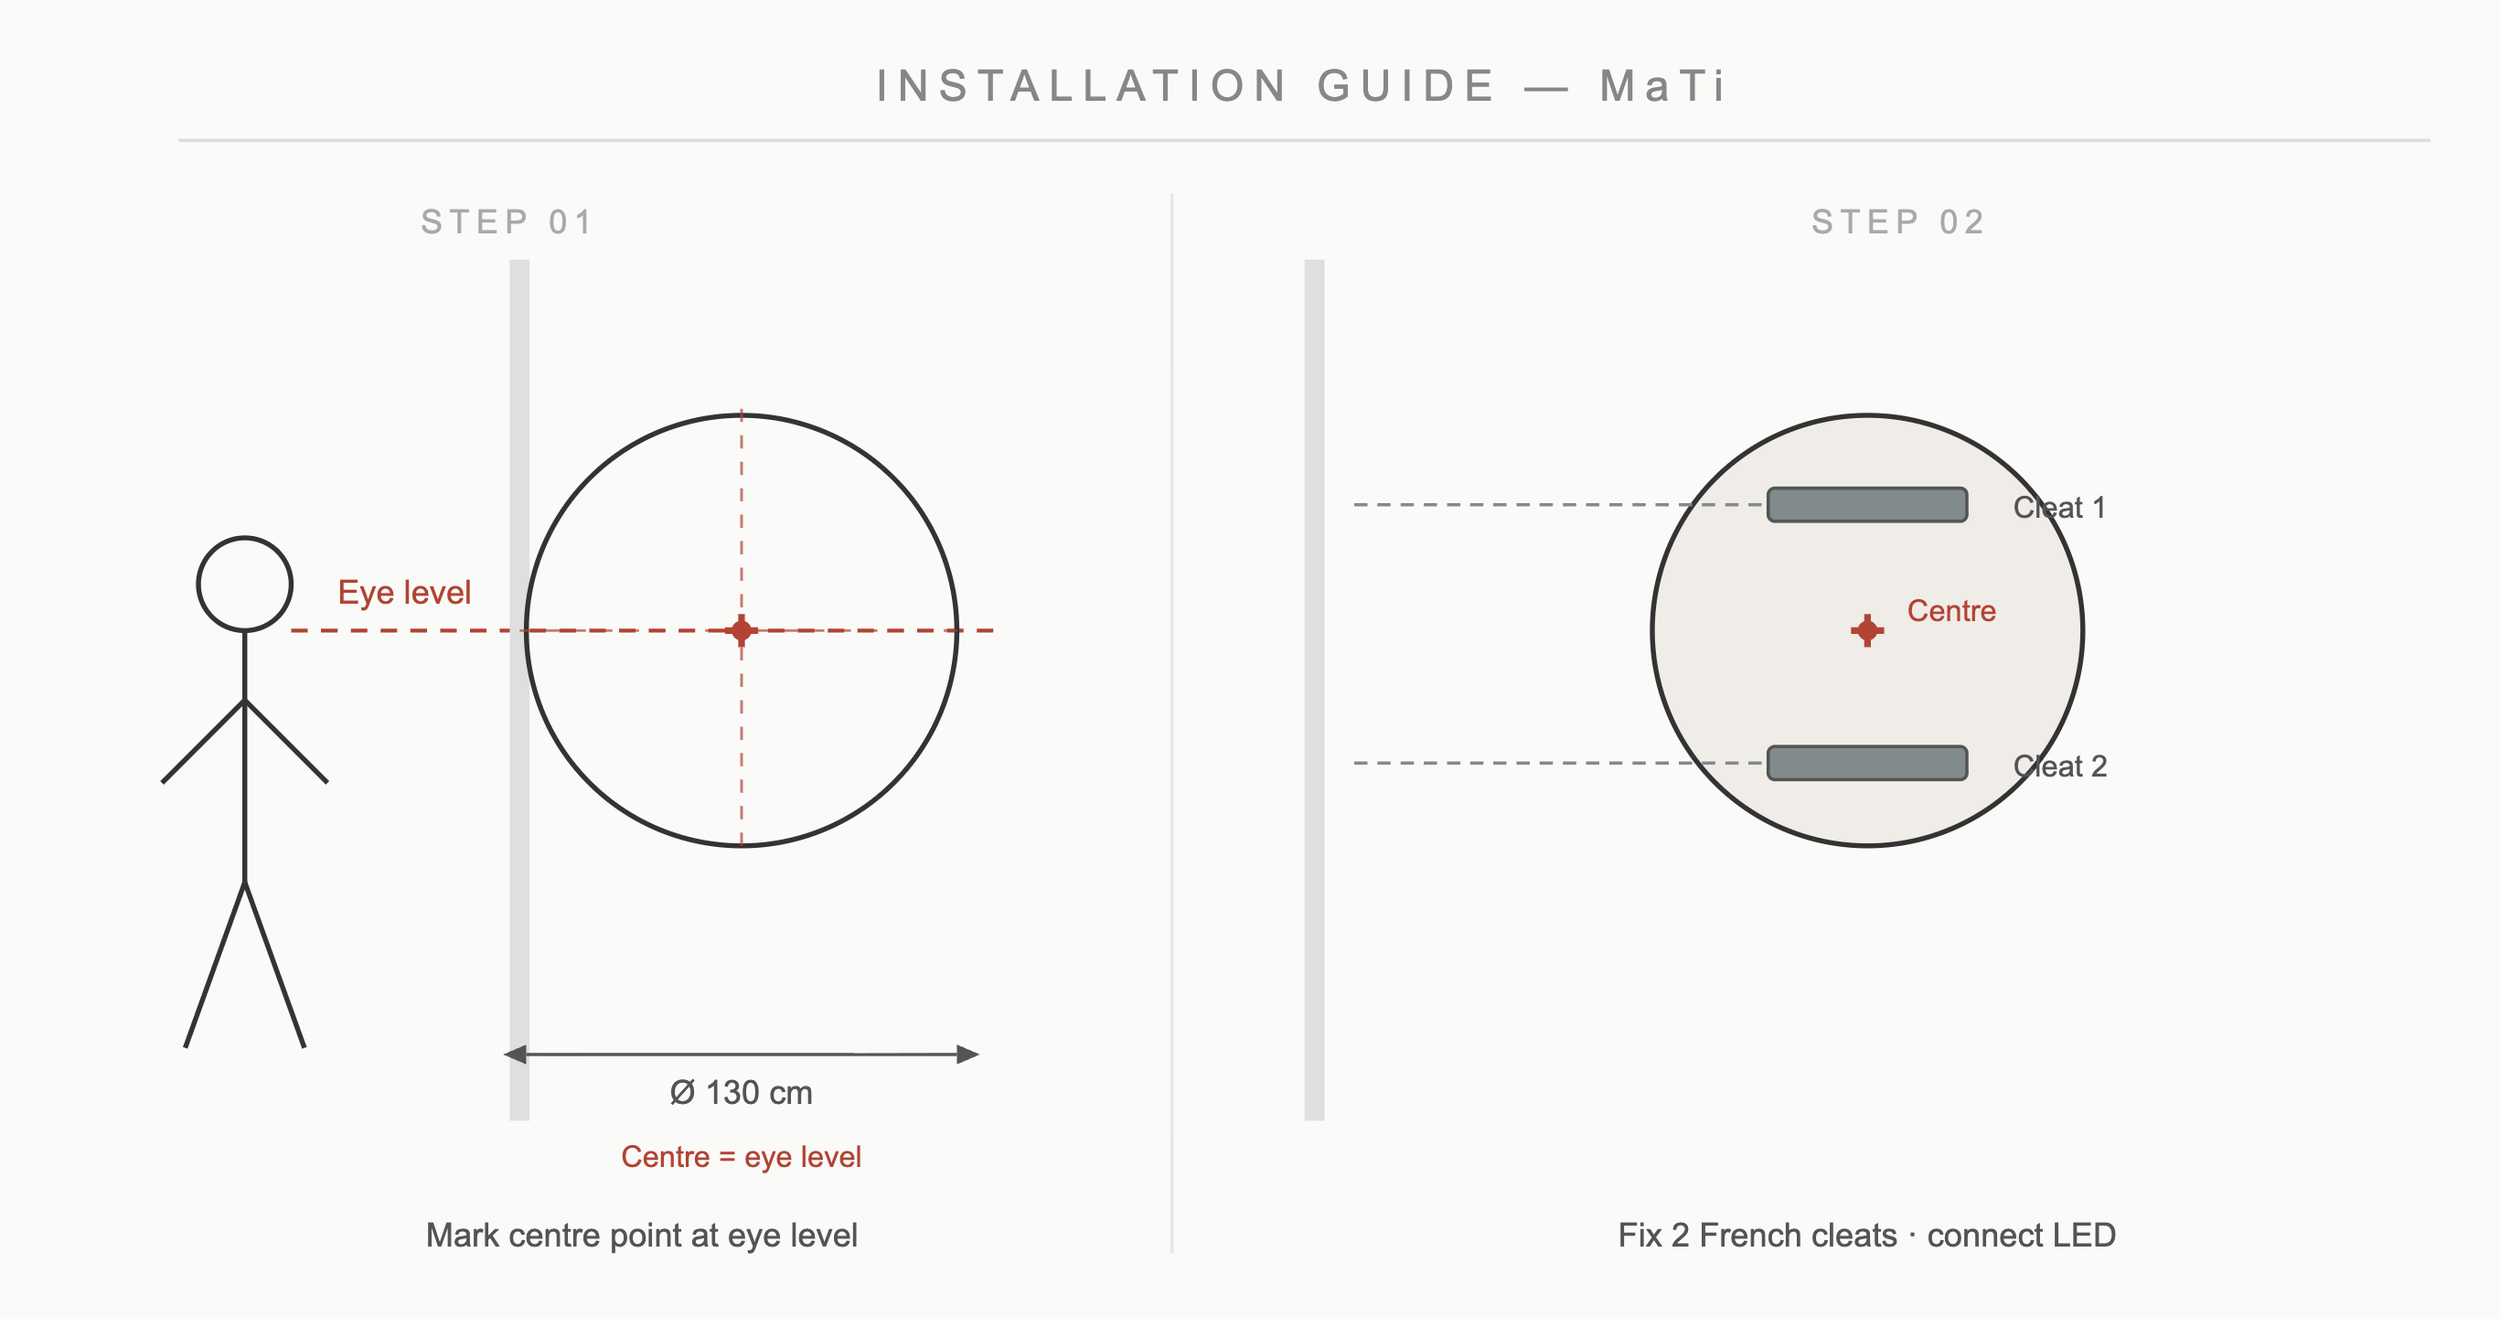
The cleats are taped to the back of the artwork.
Measure the distance from the bottom edge of the upper cleat to the bottom edge of the lower cleat.
For example, on the Medium format MaTi, this distance is approximately 50 cm.
To determine where to position these lines on the wall, first locate the centre point of the work. You can do this by measuring the distance from the top cleat line to the centre of the artwork.
Transfer these measurements to the wall using the centre mark as your reference point.
Use a level to ensure the cleats are installed straight and properly aligned.
Once the cleats are installed, the artwork is ready to be hung.
We recommend placing small pieces of tape on the wall to mark the position of the cleats, and matching pieces of tape on the artwork where the hangers are located. These marks act as a visual guide, helping you know how high the artwork needs to be lifted to engage with the cleats.
At least two people are required to lift the work—one on each side. For heavier pieces, a third person can assist from the front to help guide the artwork into position.
Place one hand underneath the bottom edge of the work and the other on the side for support. Begin by lifting the artwork from the ground using your legs rather than your back to avoid strain.
Raise the artwork until the tape mark on the artwork passes the tape mark on the wall. At that point, bring the artwork gently against the wall and lower it slowly so the cleats engage.
Once the artwork is resting on the cleats, you can slide it slightly from side to side to make final alignment adjustments.
Setting up the lights
Once the work is hung, plug it in or switch it on. The lights will automatically turn on using the default settings.
If you wish to adjust the colours or create a custom transition between selected colours, this can be done through the app by connecting to the artwork’s lighting controller.

Start by downloading the “Smart Life” app. Create a user account and enter your Wi-Fi network details. Once this is set up, you will be ready to connect to the artwork controller by locating the device in the app.
To pair the controller, reset the lights by turning them on and off at least three times. It may take a few attempts. When the reset is successful, the lights will begin to blink, indicating they are ready to pair.
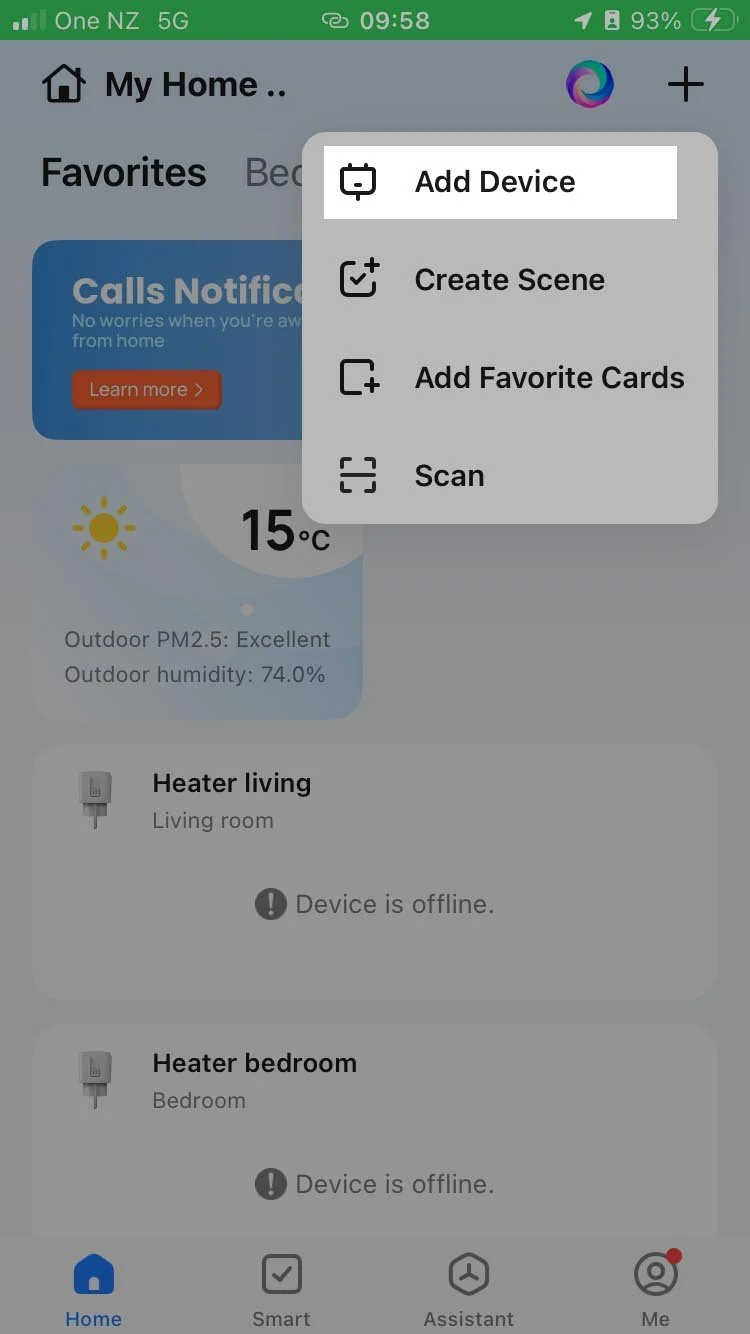
While the lights are blinking, select “Add Device” in the app. The controller should appear and can then be added to your device list. Renaming the controller is optional, but recommended, especially if you plan to add more devices in the future.
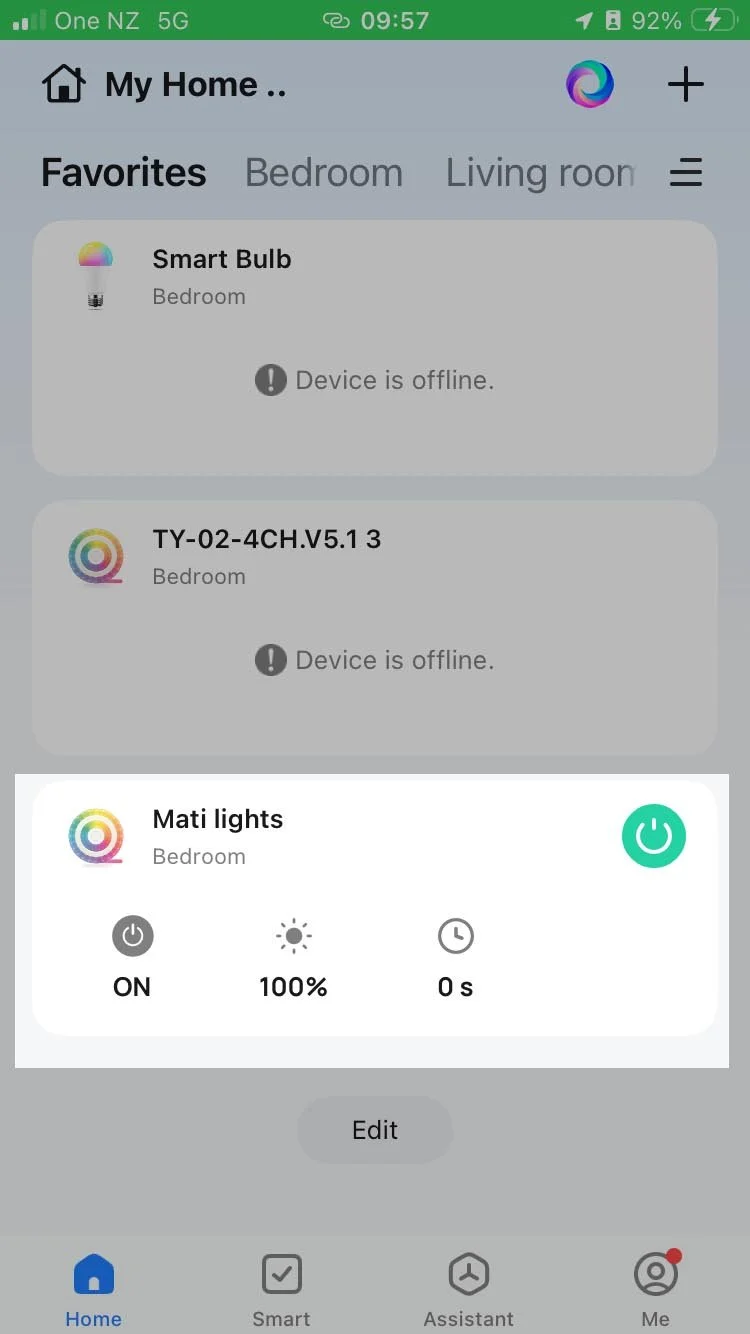
App functions
The app is straightforward to use. You can choose between white light or colour light, and both options include a dimmer.
Colours can be selected across the full spectrum using the colour bar at the bottom, or adjusted more precisely by using the colour wheel on the right.
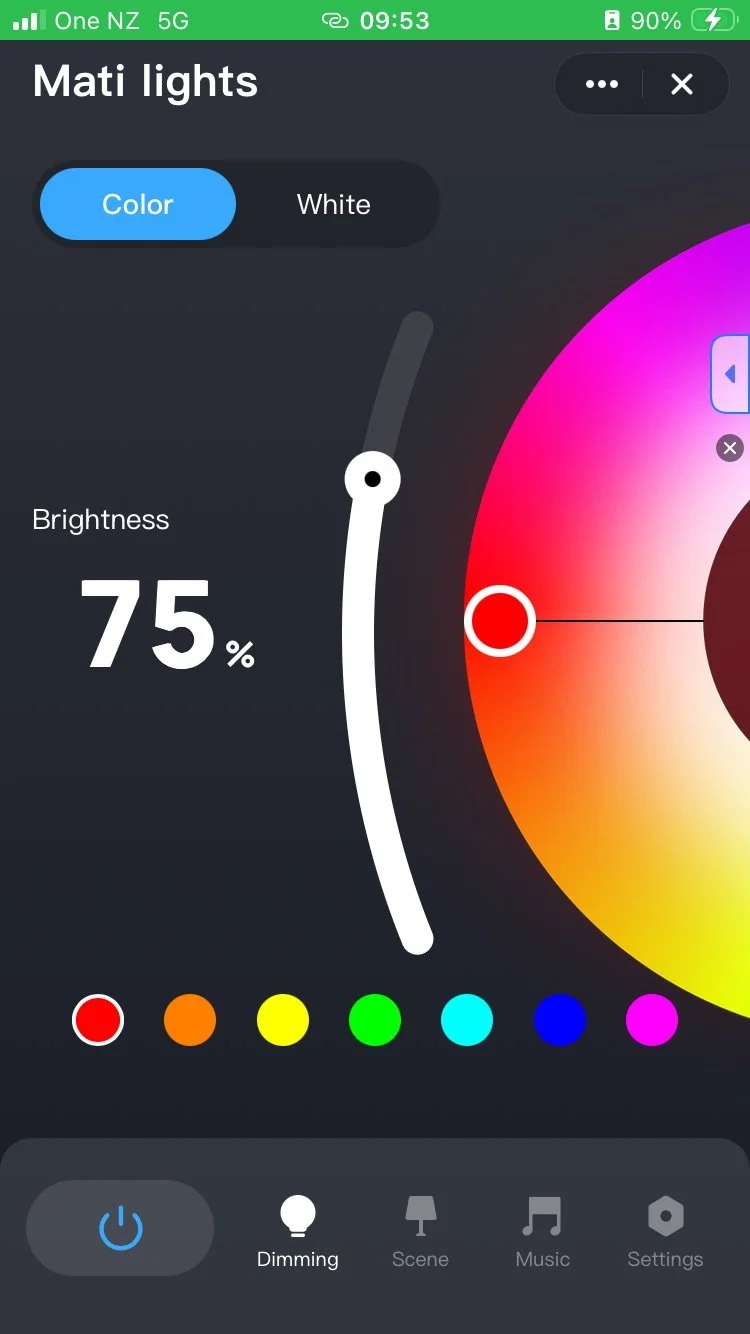
At the bottom of the screen you will find four options: Dimming, Scene, Music, and Settings.
Dimming allows you to adjust brightness and colour as described above.
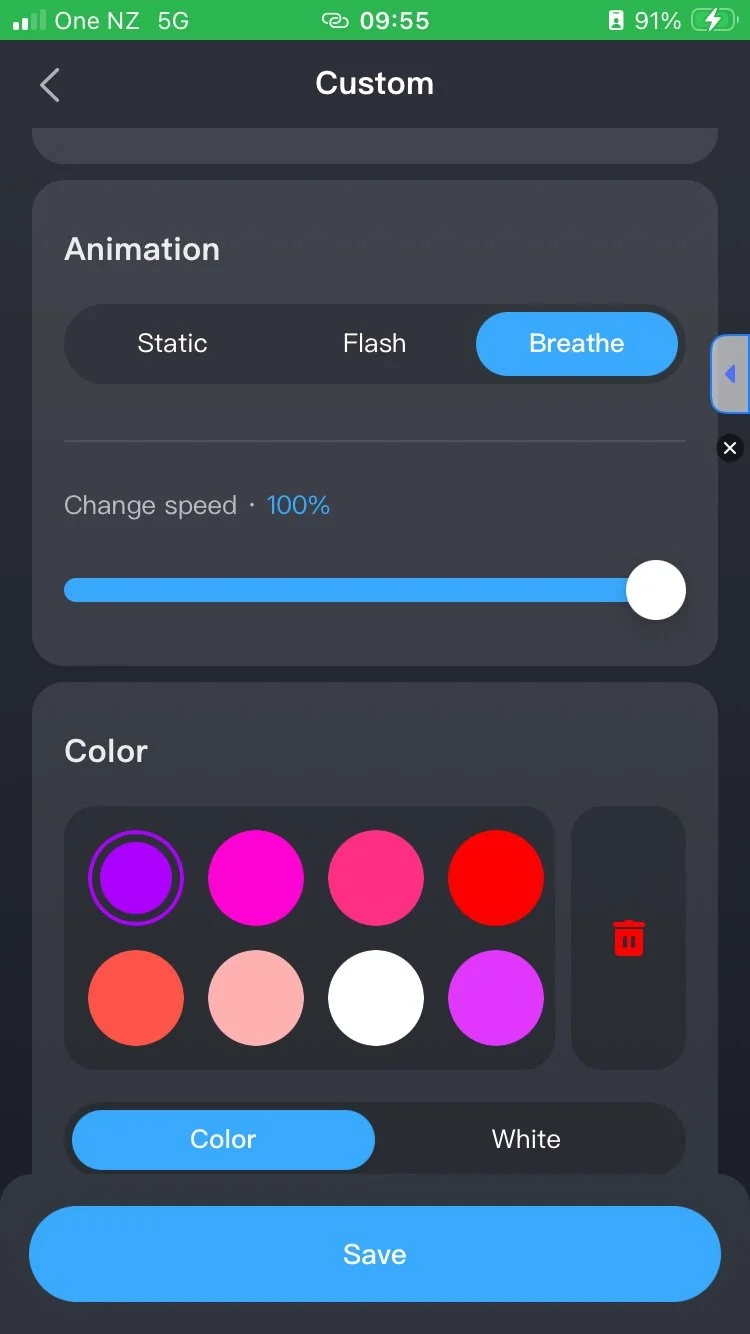
In Scene, you will find several factory preset animations. For a more customised display, we recommend creating your own scene.
Select “Custom Scene”, give it a name, and choose between Static, Flash, or Breathe.
Static keeps a fixed colour.
Flash and Breathe create transitions between colours, with Flash producing faster changes and Breathe producing slower, softer transitions.
You can also adjust the transition speed to create a calmer or more dynamic lighting effect.
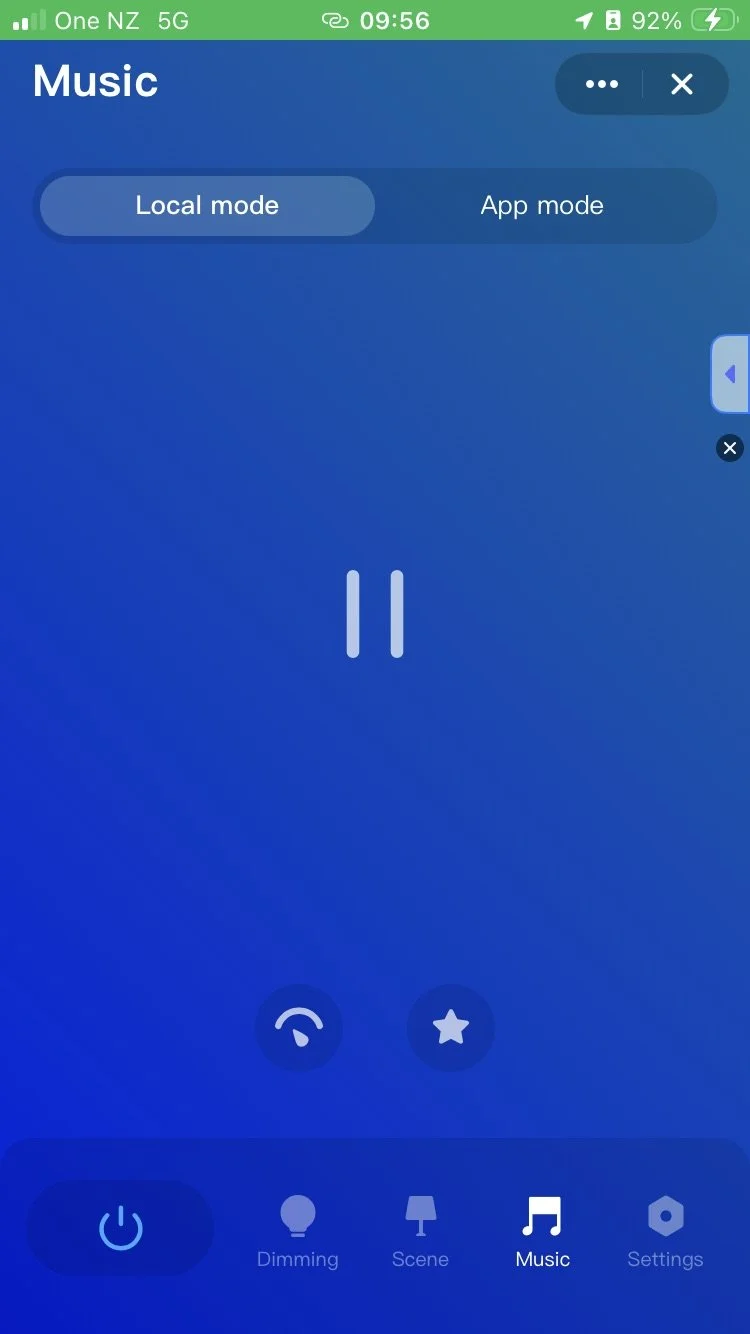
The Music option allows the controller to change the lighting in response to the rhythm of music. This can create an engaging atmosphere for gatherings or events.
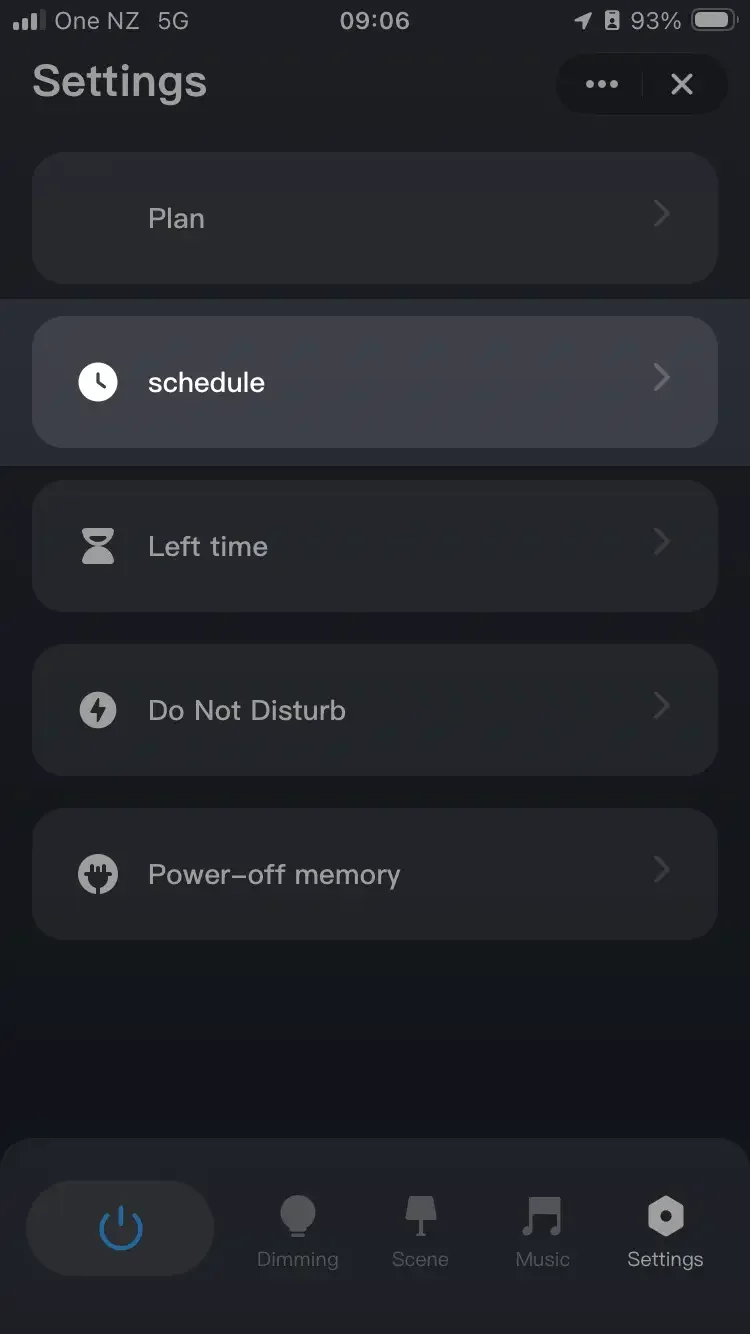
The Settings option allows you to schedule the lights to turn on or off automatically on selected days and times.
App Settings
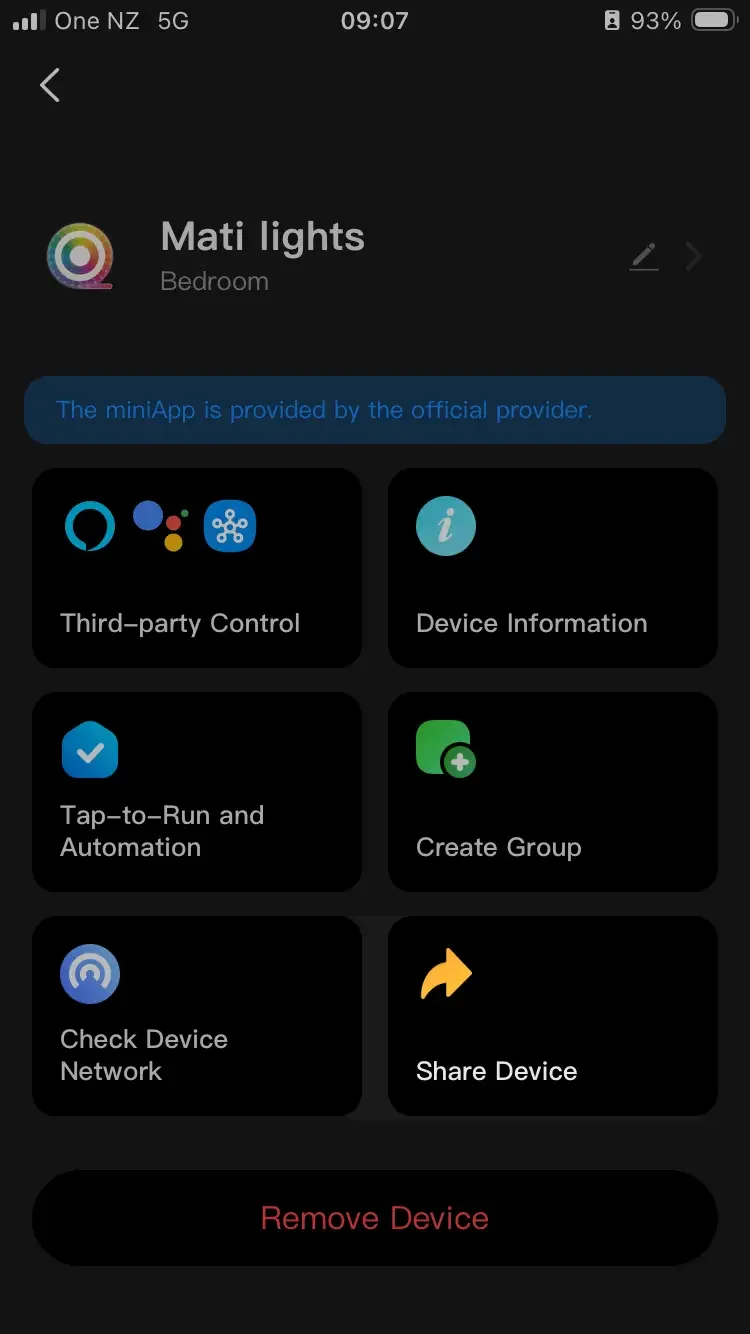
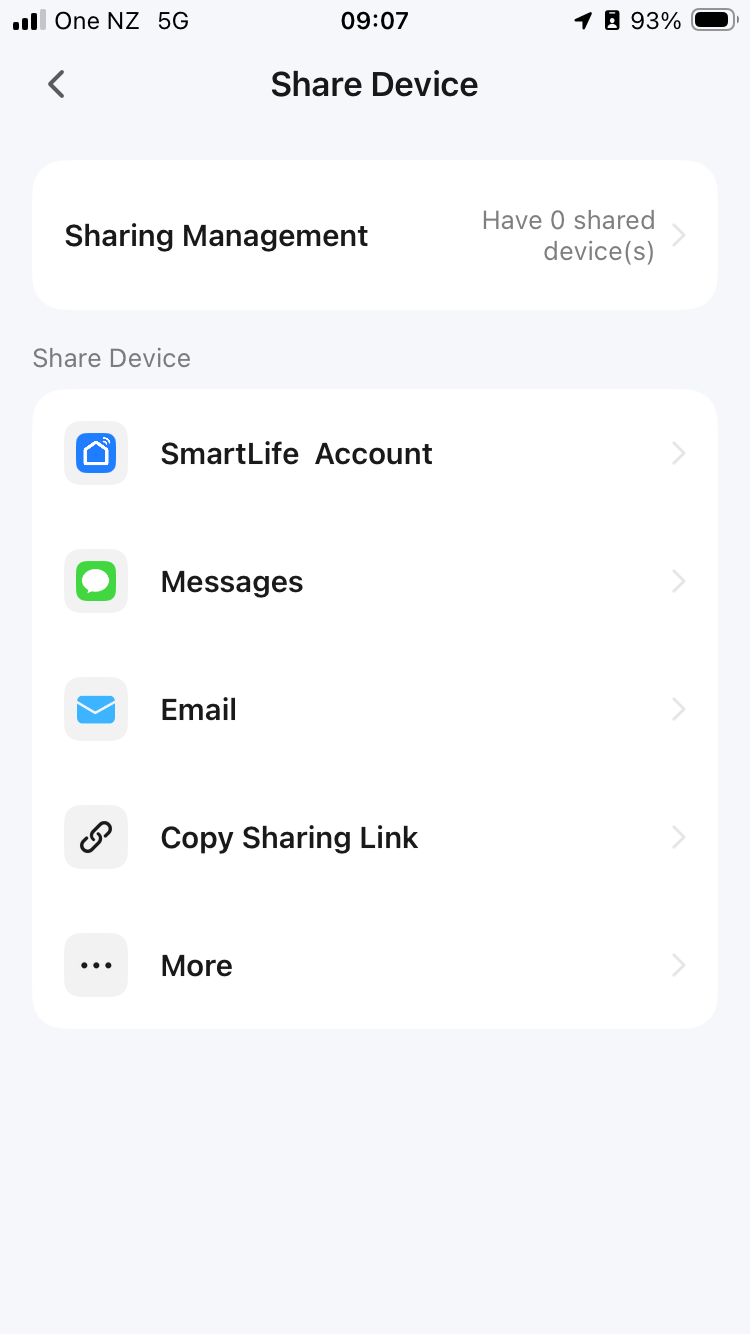
Sharing control
If you wish to share control of the lighting system across multiple phones, there are several options available. In all cases, each device will need to have the “Smart Life” app installed.
The simplest method is to log in on multiple devices using the same account. All settings and connected devices will automatically sync, allowing full control from any phone signed into that account.
To share the account credentials, although using the built-in sharing feature is generally recommended for better control and flexibility.
If you prefer to use separate accounts, the device can be shared directly through the app via text message, email, or by copying a sharing link. This allows other users to access and control the lighting without needing to share login details.
Time Programs
The lighting can be programmed to turn on and off automatically, either daily or on selected days of the week.
You can also tailor the lighting to start with specific settings—for example, warmer light in the morning and cooler tones in the evening.
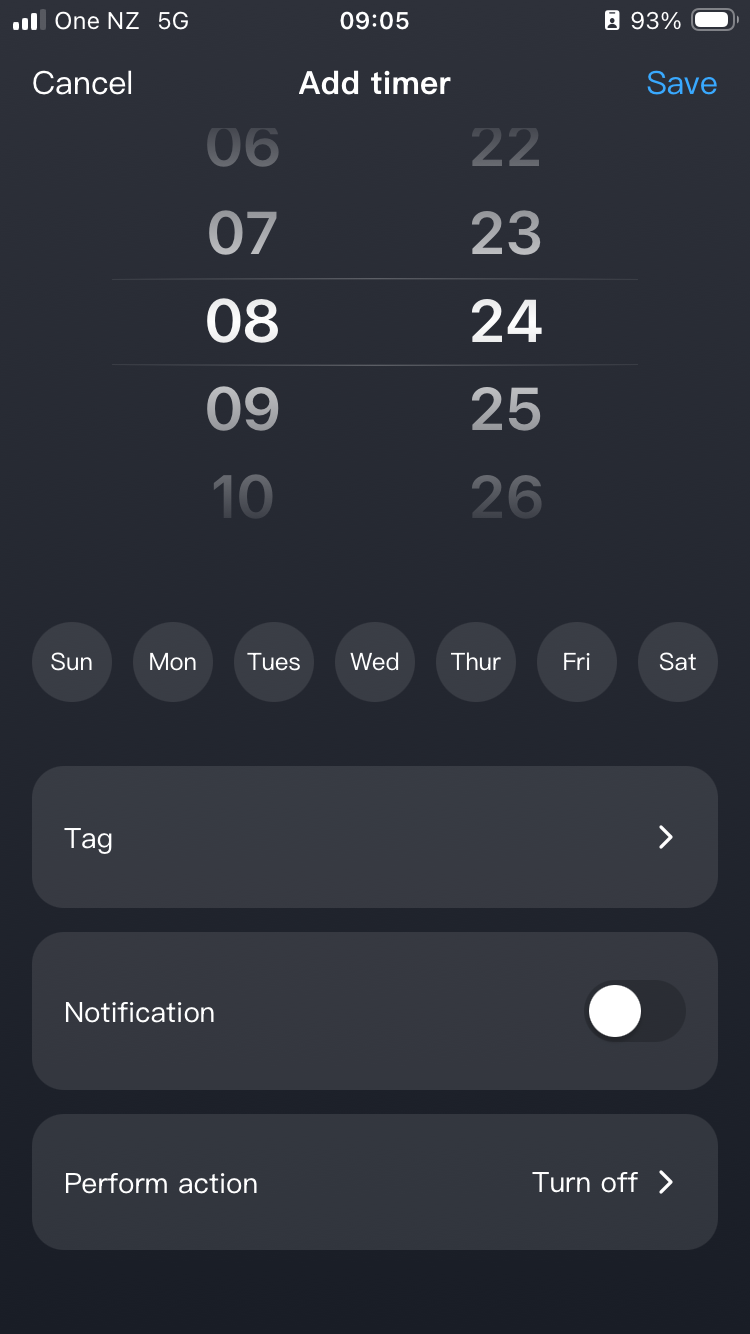
To set this up, go to Settings → Schedule in the app and tap the “+” icon. From there, select the desired days and times for the lights to turn on or off.
Next, choose “Perform Action” to define what happens at the scheduled time. You can select from the following options:
Turn On or Off
Turn On and adjust brightness
Turn On and set a scene
Select “Turn On and set a scene” if you want the lights to start with a specific preset or custom scene.
If this option is not selected, the lights will turn on using the last active settings before they were switched off.

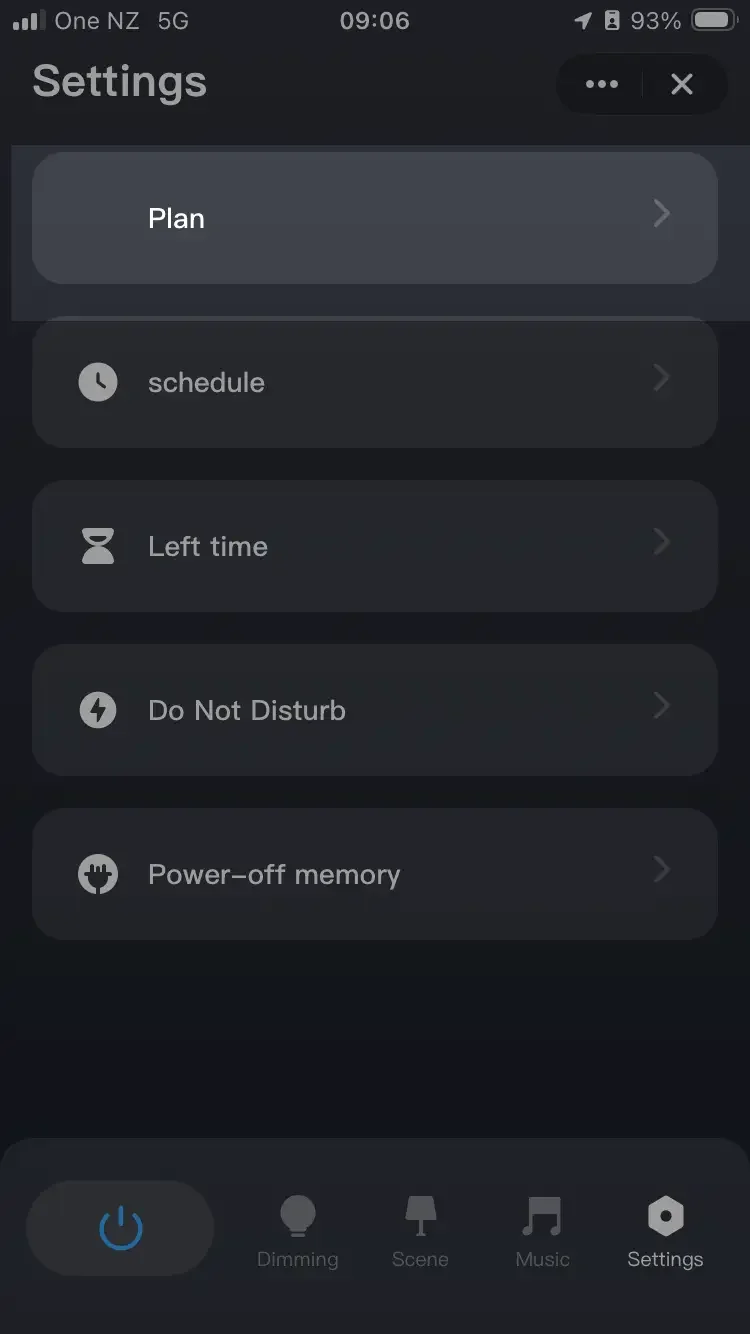
If you wish to create a slow fade-in wake-up light or a sunset-style fade-out, this can be programmed using the Plan option in the app.

Troubleshootting
Lights not appearing in the app
If the lights where connected to the app before, but now they don’t appear, one common reason is beacuse they are connected to a different WiFi or the WiFi settings changed and now one of the devices can not connect. Try resetting the lights and add them to the app again.
Warranty & Maintenance
Lighting and Power Supply
The integrated lighting system is designed for an expected lifespan of approximately 7–8 years.
A two-year warranty is provided from the date of delivery. If the lighting system fails within this period, Javier Murcia Studio will repair or replace the device at no cost.
After the two-year warranty period, the studio can supply replacement components if required, with associated costs to be covered by the owner.
Contact Javier or his galleries to enquire. The use of a surge protector with your power source is advisable.
Materials and maintenance
Sand, Epoxy, Polystyrene and other materials like Talcum, Calcium Carbonate, MDF, etc, may be used in the creation of the artwork. The works are lightfast, being acrylic based and rich in pigment. To keep your artwork clean and dust-free, use compressed air can supplied for the central, textured surface. Avoid touching the work if possible, use a soft brush if you must.
Any questions reach out,